PC 6 is often introduced as “three finger-widths above the wrist.” That instruction is useful, but incomplete.
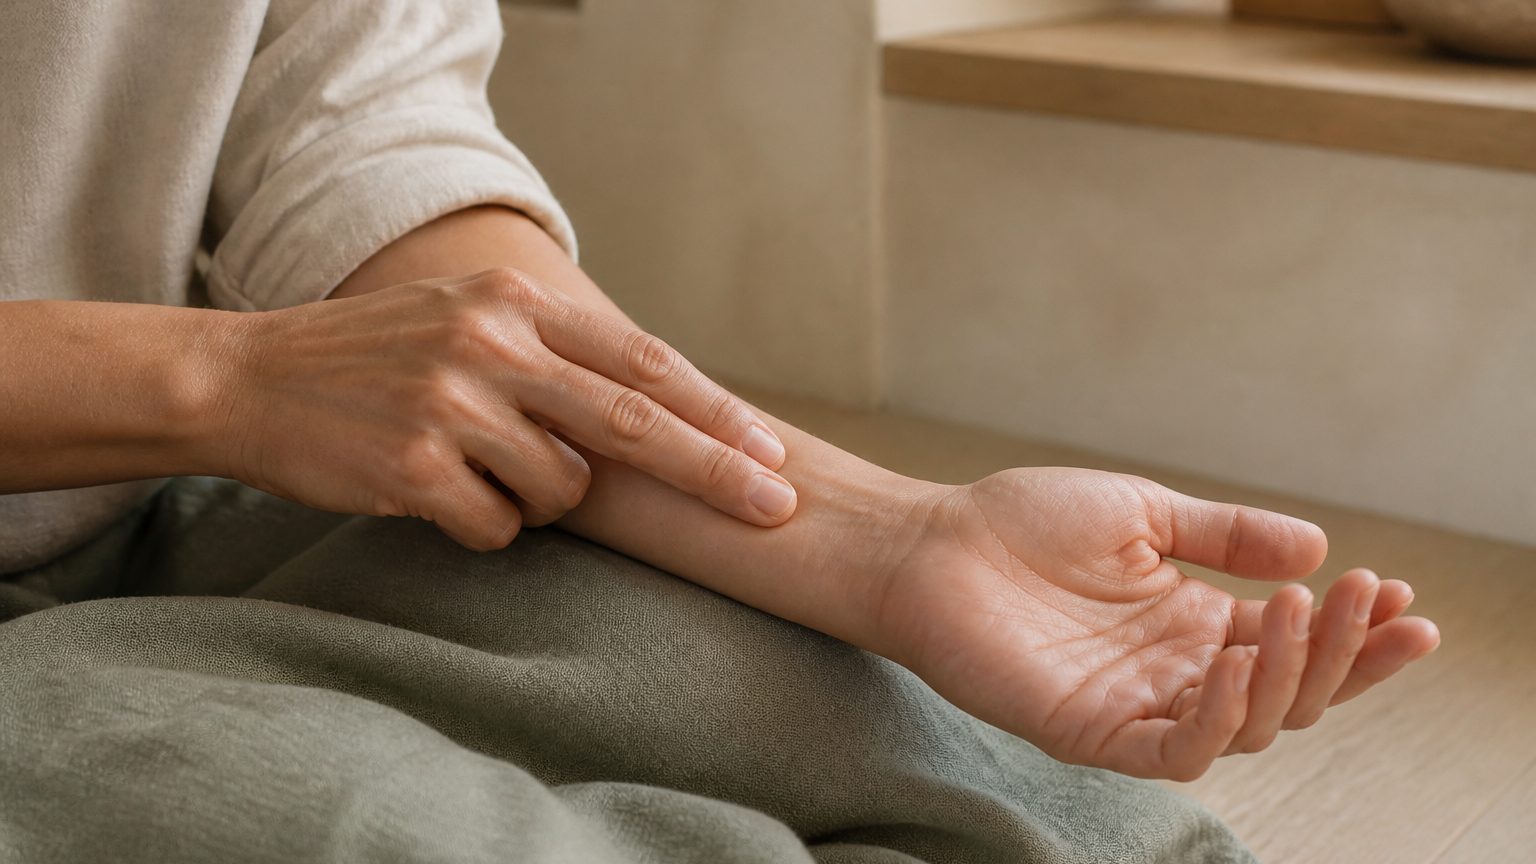
Turn the palm upward and find the crease where the hand meets the forearm. Place three fingers across the wrist to estimate the area, then remove them. Make a loose fist and bend the wrist slightly. Two tendons may rise near the center of the forearm. PC 6 (Neiguan, 内关, “Inner Pass”) lies between them, 2 B-cun above the palmar wrist crease.
The measurement brought you close; the crease and tendons established the address. If only one tendon is visible, the point is not missing—palmaris longus is not distinct in every person. Use the flexor carpi radialis tendon and the forearm’s center line instead.
A Point Is an Address, Not a Dot
A printed chart turns a three-dimensional body into a line drawing. The dot looks exact; the body underneath varies in length, muscle tone, and the prominence of its bones and tendons. Standard descriptions therefore combine anatomy with proportion.
The WHO system distinguishes B-cun, or proportional bone cun, from F-cun, or finger cun. B-cun divides the distance between two landmarks into prescribed parts; the forearm between wrist and elbow creases, for example, is twelve units. F-cun uses the measured person’s fingers as an approximation: a thumb joint can represent 1 F-cun, while four fingers together represent 3 F-cun.
Neither unit is a fixed inch or centimeter. Three of your fingers can help locate a region on your body; three of someone else’s fingers may not. Research on point-location methods has also found substantial variation when finger measurements are used alone. For self-acupressure, the practical order is therefore landmark → proportion → palpation, not “count finger-widths and stop.”
Reading a point description
An acupoint is an address, not a floating dot
Begin with anatomy, add proportion, then confirm the region with light touch.
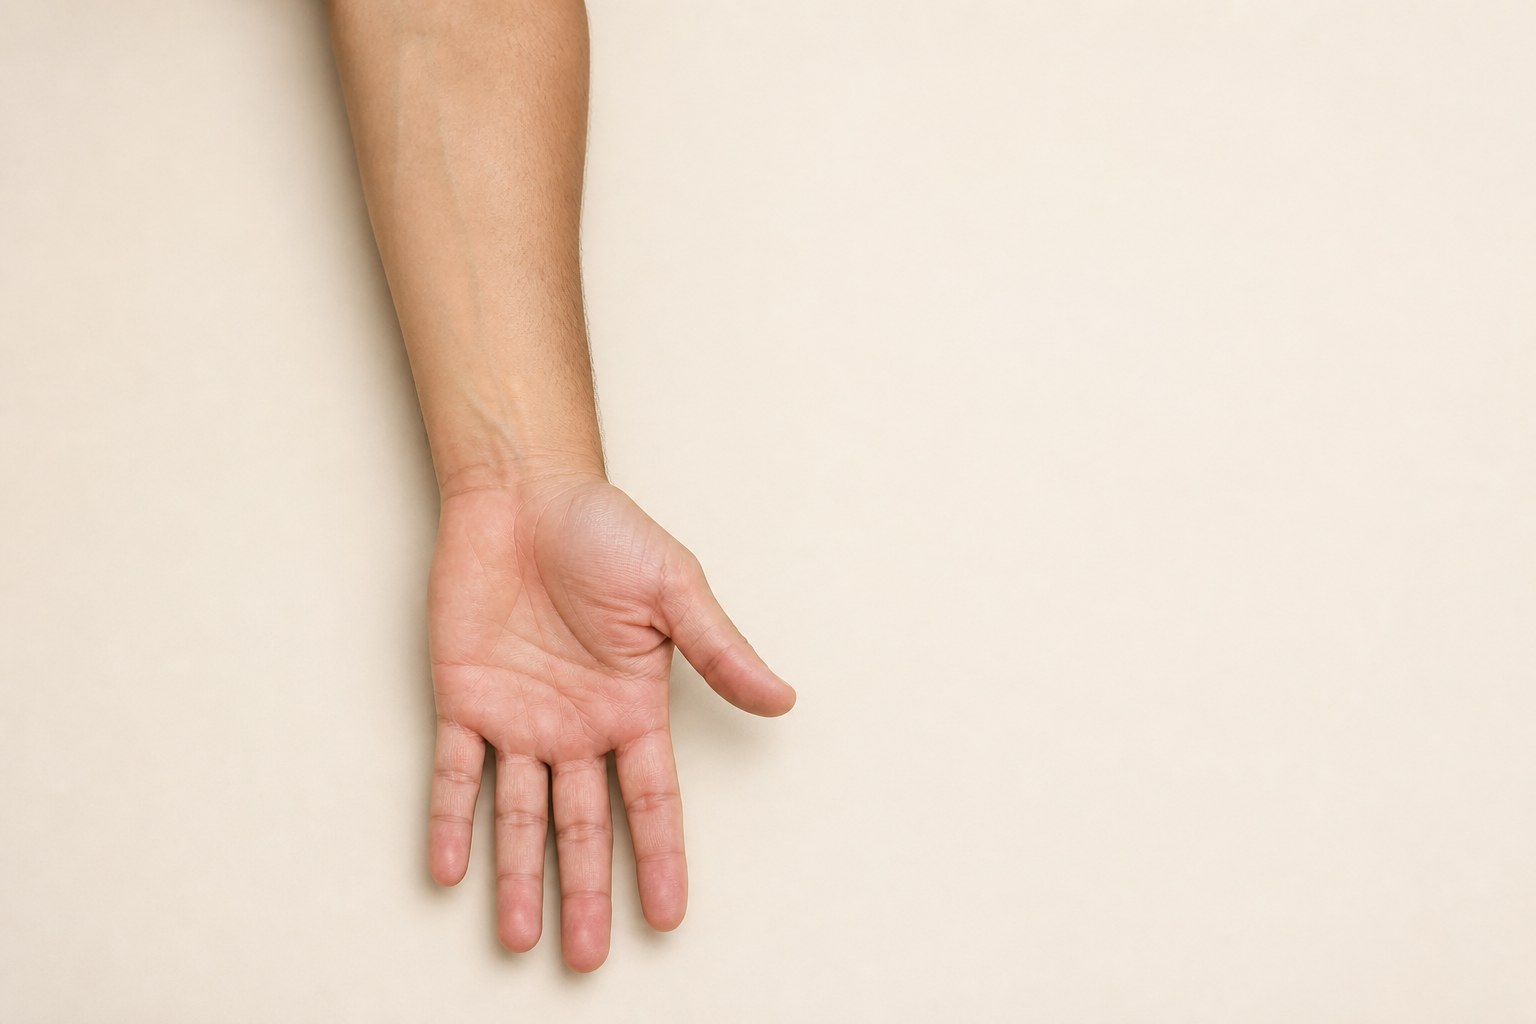 Wrist crease a repeatable landmark
 Start with what can be found again
Use a crease, bone edge, tendon, joint, nail, or another visible surface structure.
 3 B-cun
Divide the person’s own body
B-cun describes a ratio between two landmarks. It is not a fixed inch or centimetre.
 Palpate confirm beside the bone
 Confirm the structure with light touch
Movement can reveal a tendon, muscle, or hollow. Tenderness alone does not replace the standard address.
B-cun and finger-cun are locating tools, not fixed metric units. Surface-location guide only.
Movement makes some landmarks visible: a loose fist brings forearm tendons forward, pulling the toes back firms the muscle beside the shin, and curling them produces a hollow in the sole. Once the structure appears, relax and feel its border. Compare both sides. Tenderness may help you notice a region, but it does not prove a blocked channel or an unwell organ.
Note: points also have roles. A meridian point has a standardized address on one of the fourteen main routes; an extra point lies outside those sequences; an ashi point is chosen because it is tender or reactive now. Categories such as Yuan-Source, Luo-Connecting, Jing-Well, and He-Sea describe how points are used and paired—roles in a network, not extra names for a dot.
Six Points, Six Ways to Find Them
Use a fingertip before a tool. Confirm that the skin is comfortable and gentle pressure feels stable. A weighted fork rests through the flat end of its stem; it does not locate a point by pressing harder.
PC 6 · Neiguan · Inner Pass is on the inner forearm, 2 B-cun above the palmar wrist crease, between palmaris longus and flexor carpi radialis. Press into the space rather than onto either tendon. The same area can receive a weighted stem after the wrist relaxes.
HT 7 · Shenmen · 神门 · Spirit Gate needs almost no measuring. Follow the palmar wrist crease toward the little finger. On the thumb-facing side of the flexor carpi ulnaris tendon is a depression near the pisiform bone. Do not cross the tendon or move up the forearm. Use a finger pad or light vertical stem contact.
Palm-up wrist · thumb side on the right
PC 6 and HT 7 use different landmarks
PC 6 combines a measured distance with a tendon interval; HT 7 remains on the wrist crease.
PC 6 · Neiguan between the two central tendonsHT 7 · Shenmen on the crease, radial to FCU 2 B-cunSurface-location learning guide based on WHO standard descriptions. Not a needling-depth guide.
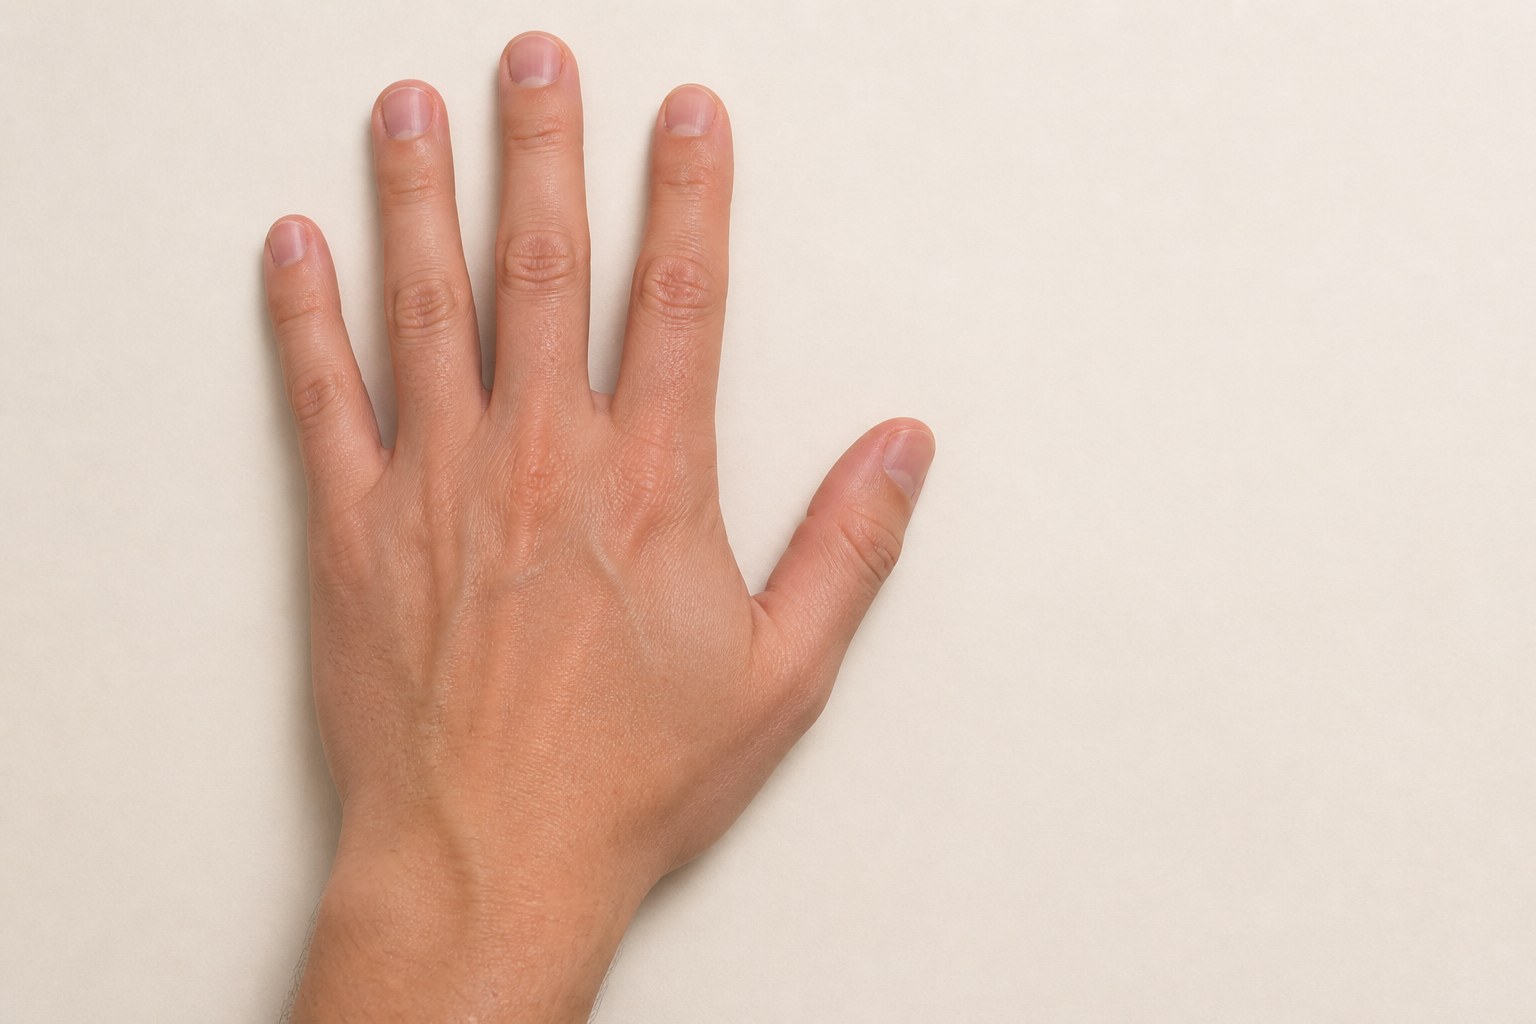
LI 4 · Hegu · 合谷 · Joining Valley is on the back of the hand, beside the midpoint of the second metacarpal. Bringing thumb and index finger together creates a helpful muscular bulge. Relax, trace the index-finger metacarpal to its midpoint, and settle on the thumb side. The point is not at the far end of the webbing; contact the broad muscle beside the bone.
Pregnancy note: Memorial Sloan Kettering’s patient guidance advises against self-acupressure at LI 4 during pregnancy. Leave this point out of home practice unless a qualified maternity-care professional has advised otherwise.
Back of the hand · thumb side on the right
LI 4 follows the index-finger metacarpal
The point belongs beside the midpoint of the second metacarpal—not at the far end of the web.
LI 4 · Hegu thumb-facing side of the bone’s midpoint web margin — not the pointsecond metacarpal Surface-location learning guide based on WHO standard descriptions. Not a needling-depth guide.
TE 5 · Waiguan · 外关 · Outer Pass mirrors PC 6. Turn the hand palm-down, find the dorsal wrist crease, move 2 B-cun toward the elbow, and feel between radius and ulna. PC 6 and TE 5 sit on opposite surfaces at approximately the same level. If the stem rolls toward either bone, return to the central space.
Dorsal forearm · elbow left, hand right
TE 5 sits between radius and ulna
Turn the hand palm-down, begin at the dorsal wrist crease, and move toward the elbow.
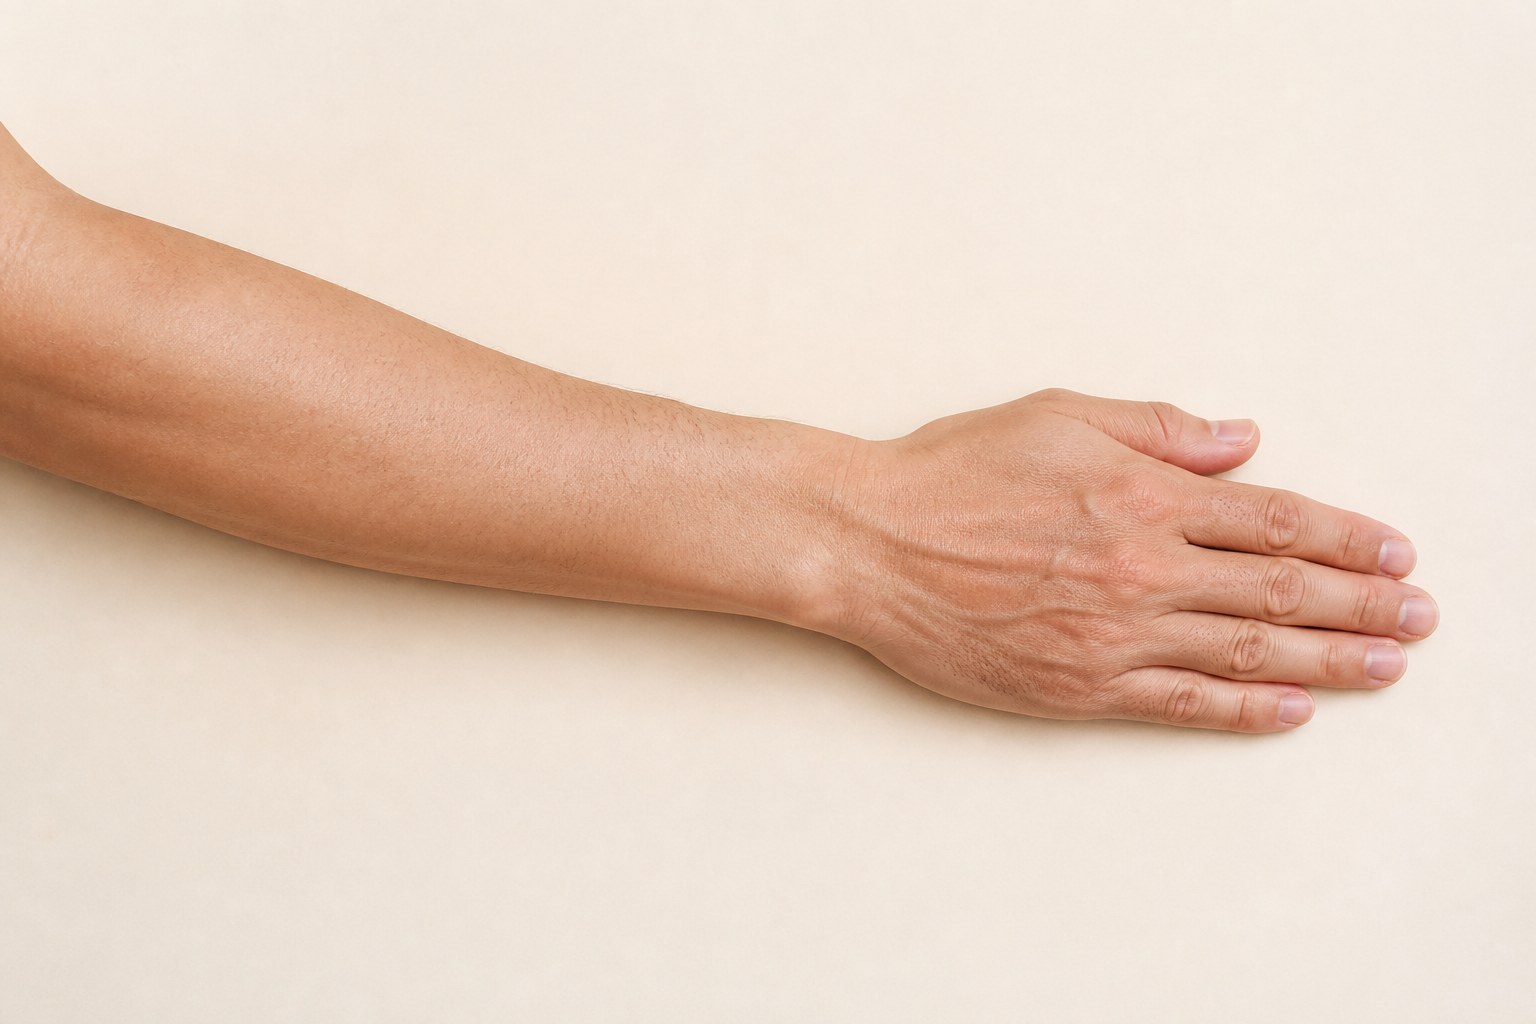 TE 5 · Waiguan central space between radius and ulna dorsal wrist crease 2 B-cun
Surface-location learning guide based on WHO standard descriptions. Not a needling-depth guide.
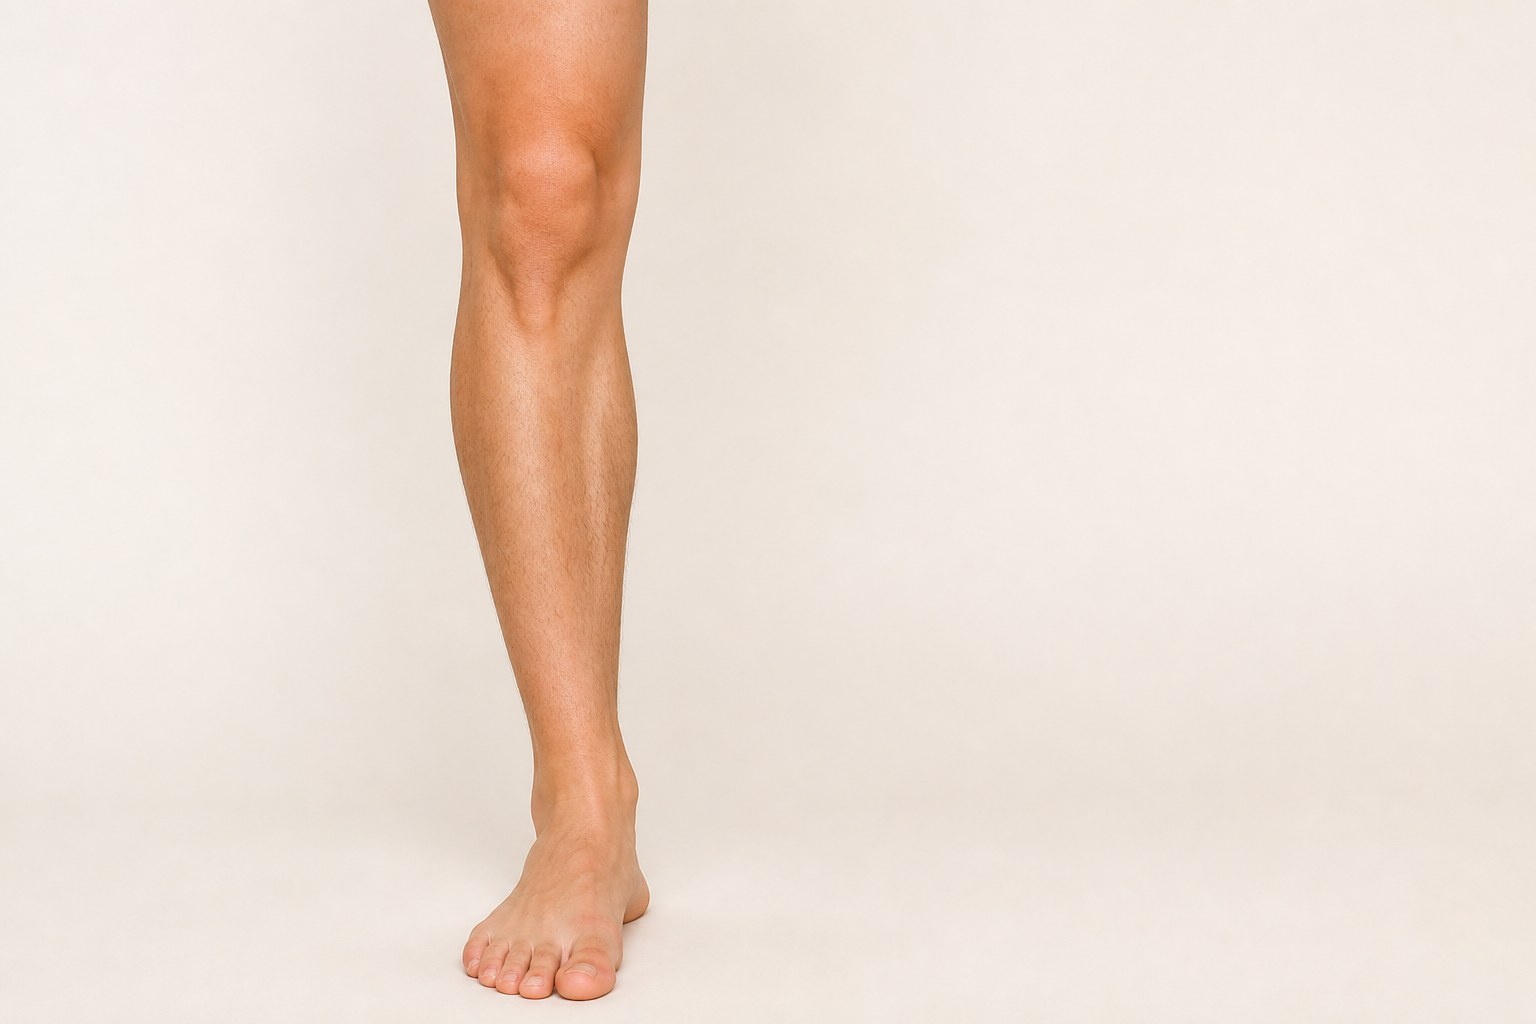
ST 36 · Zusanli · 足三里 · Leg Three Miles begins at the knee. Bend it and find the depression on the outer side of the patellar ligament. Move 3 B-cun down the lower leg, just lateral to the tibial crest. Pulling the foot upward reveals tibialis anterior; relax before pressing. If the fingertip sits on hard bone or far around the calf, relocate.
Front of the knee and lower leg
ST 36 begins at the knee, then moves beside the tibia
The starting landmark is the depression beside the patellar ligament—not an arbitrary spot below the kneecap.
ST 35 start outer depression beside patellar ligamentST 36 · Zusanli on tibialis anterior, lateral to crest anterior tibial crest 3 B-cunSurface-location learning guide based on WHO standard descriptions. Not a needling-depth guide.
KI 1 · Yongquan · 涌泉 · Gushing Spring appears when the toes curl. Find the depression near the junction of the front third and back two-thirds of a line from the heel toward the space between the second and third toes. It is neither the foot’s geometric center nor deep in the arch. Support the foot, relax the toes, and contact the hollow comfortably.
Sole view · toes at the top
KI 1 is closer to the forefoot than the centre of the sole
Use the heel-to-web line, then confirm the depression that appears when the toes curl.
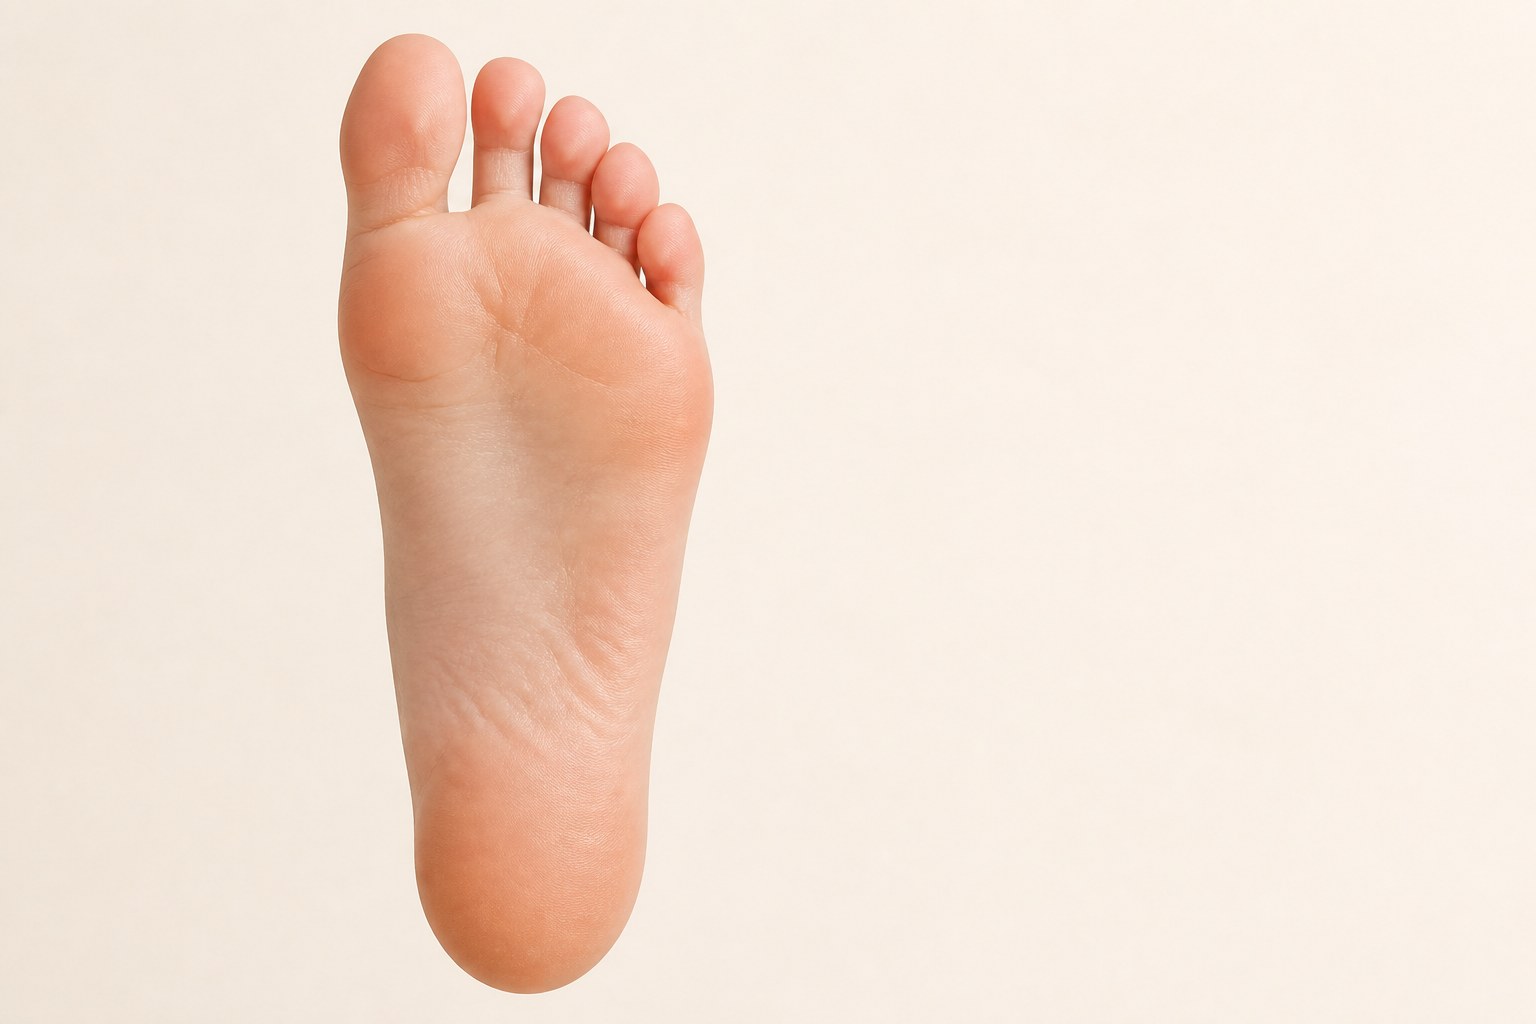 KI 1 · Yongquan front one-third / back two-thirds not the geometric centre
 Surface-location learning guide based on WHO standard descriptions. Not a needling-depth guide.
The six points do not form a treatment recipe. They are a locating toolkit: tendons at PC 6, a crease and small bone at HT 7, a metacarpal at LI 4, an interosseous space at TE 5, a muscle beside the tibia at ST 36, and a moving depression at KI 1.
The six-point location toolkit
Six points, six structures you can recognize
The photographs carry orientation; each memory clue keeps the location tied to anatomy.
Between two tendons
2 B-cun above the palmar crease
Crease beside FCU tendon
On the wrist crease near the pisiform
Second metacarpal
Thumb-facing side of its midpoint
Between radius and ulna
2 B-cun proximal to the dorsal crease
On tibialis anterior
3 B-cun below the ST 35 area
Curl-toe depression
Front one-third / back two-thirds
Summary only. Use the full guides above for step-by-step location and common misses.
Why One Point and Not Another?
Point selection can begin with the local area, but it does not end there. A practitioner may consider the route of a channel, an interior–exterior pair, a point category, and the rest of the person’s presentation. That is why two people using the same word—“headache,” “nausea,” “restlessness”—may not receive the same combination.
For tension at the side of the head, a local practitioner might assess the temple, jaw, and neck. TE 5 offers a different idea: it is a distant forearm point on a channel whose surface route travels to the side of the head. The reason for choosing it is the route, not physical proximity.
PC 6 is likewise nowhere near the stomach. Its traditional relationships include the chest and middle of the body, and stimulation of P6 has become familiar outside acupuncture clinics through nausea wristbands and hospital patient education. The point is selected because a long-used clinical relationship connects this forearm address with chest and stomach discomfort.
These examples establish an important separation: point choice and frequency choice are two decisions. The channel map can explain where to work before any tuning fork is selected.
What Vibration Adds
Pressure, needling, heat, movement, and vibration are not interchangeable techniques, but each provides a form of sensory or mechanical input. With a weighted tuning fork, the contact point receives pressure from the stem and a repeating vibration that can be felt locally. With an unweighted fork, the more prominent event is the tone in the air—its pitch, its direction, and the time it takes to fade.
Choosing the form of input
Find the point first; choose contact or listening second
Weighted and unweighted forks invite different kinds of attention. Point choice and sound choice remain separate decisions.
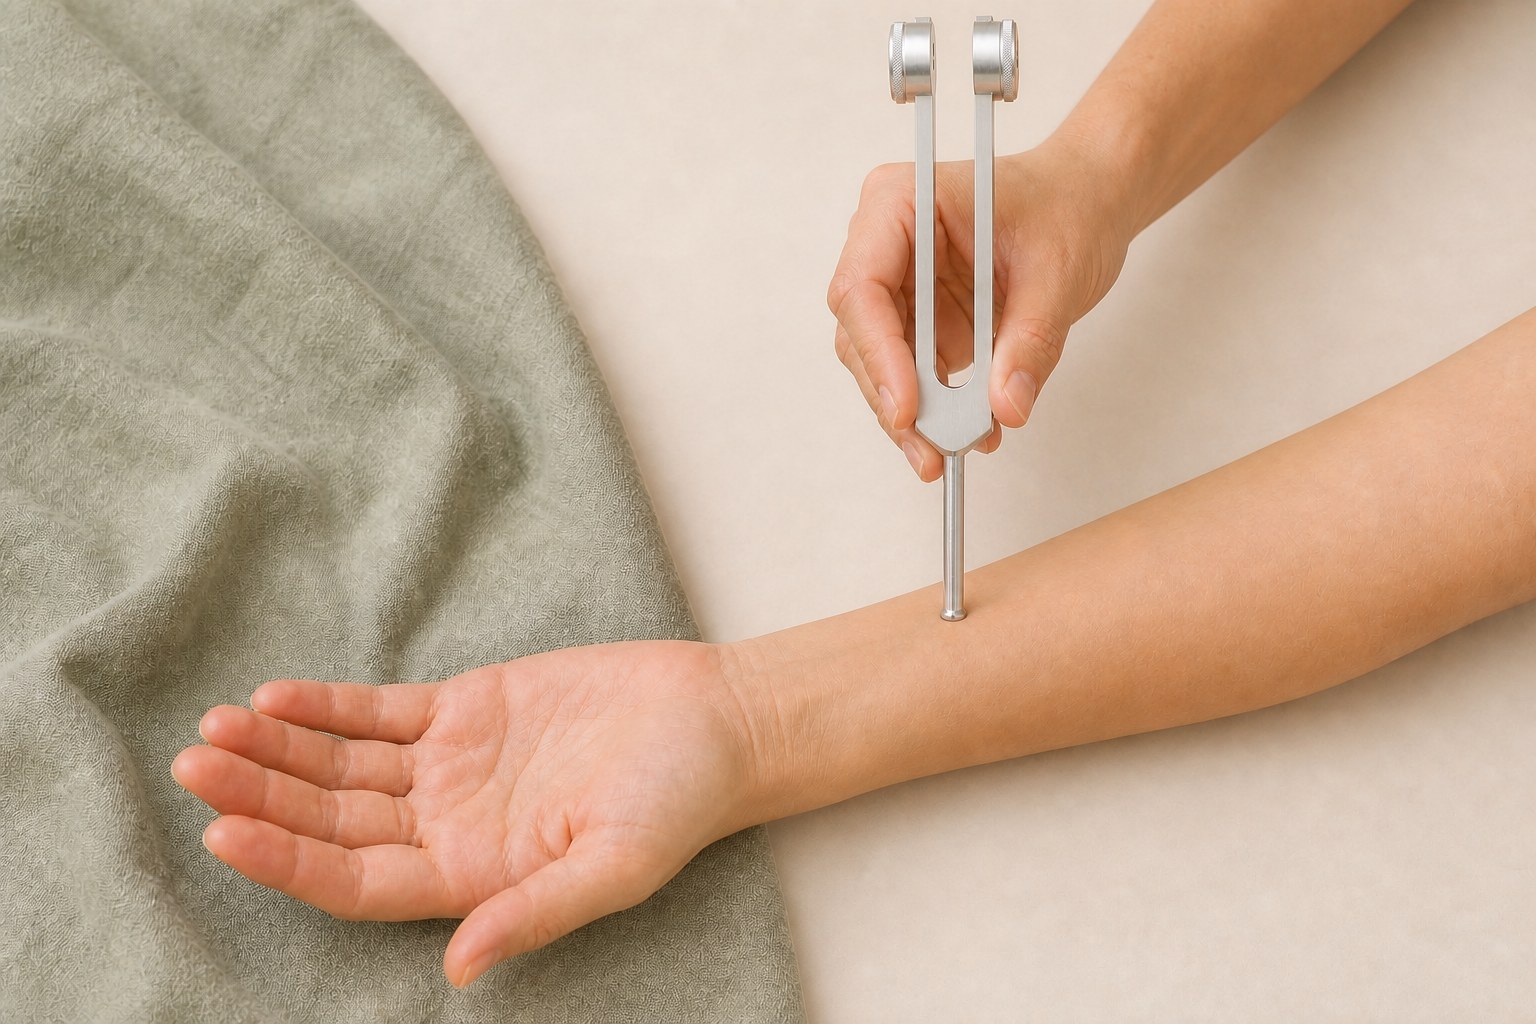 Weighted · contact
Felt through the stem
Place the flat stem end on the located point with light, steady contact. Let the vibration fade before deciding whether to repeat.
The contact point answers “where?”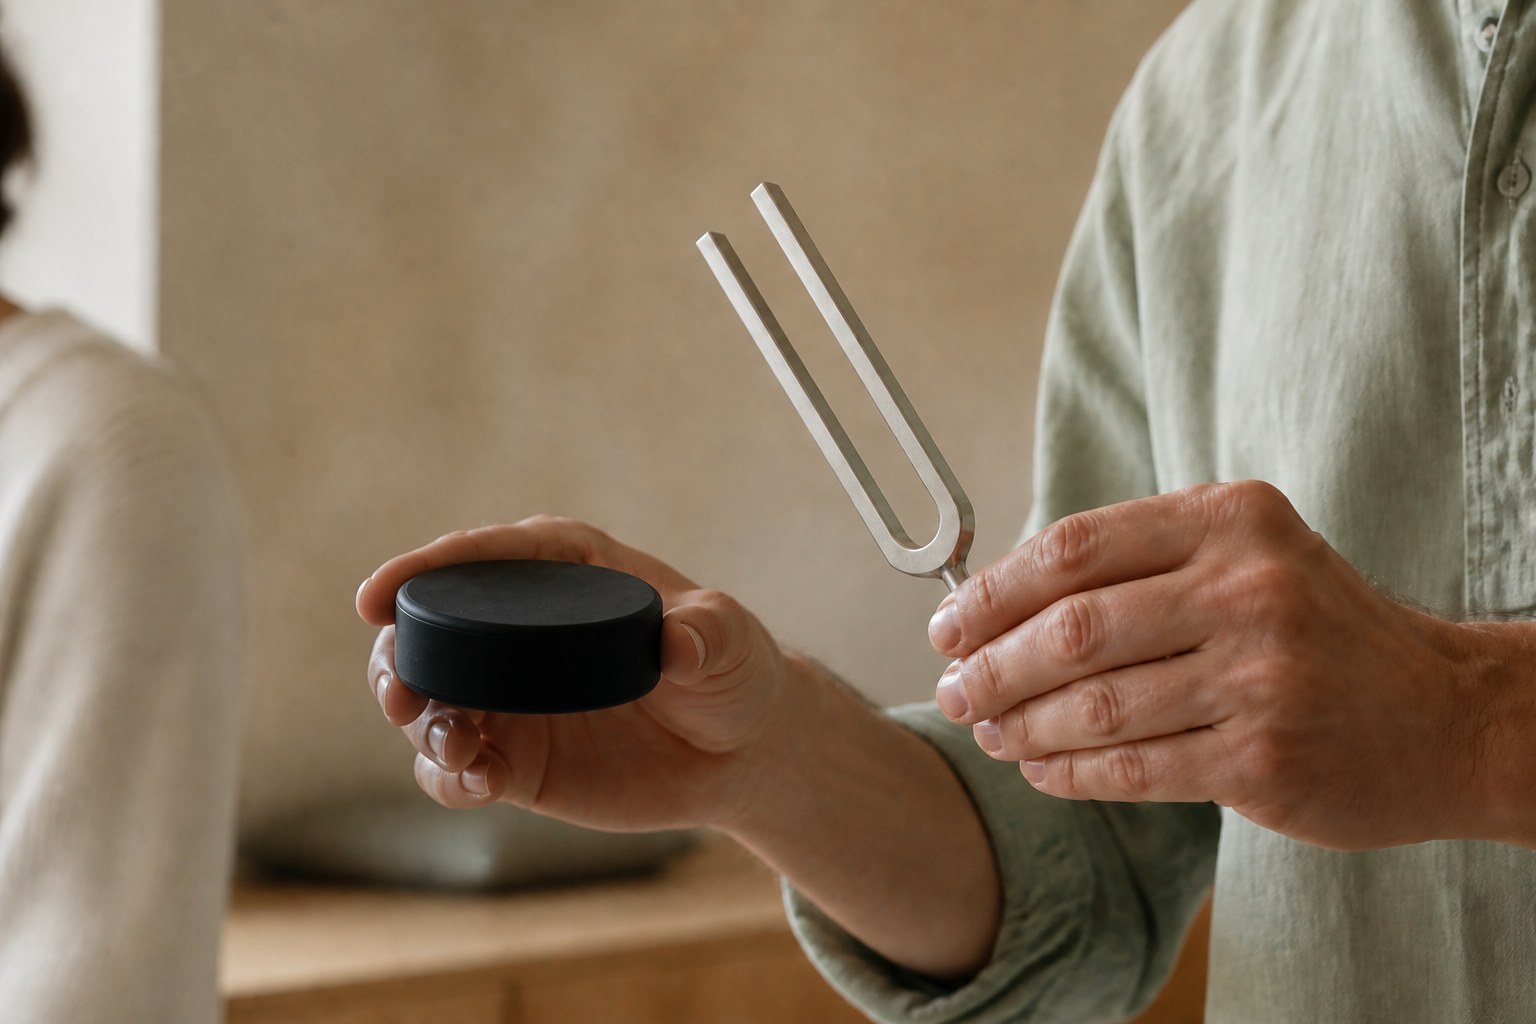 Unweighted · listen
Heard in the surrounding air
After activation, hold the fork at a comfortable distance and follow pitch, direction, and decay. Keep it away from the eyes and very close ear placement.
Listening answers “how does the sound unfold?”A relationship between tones
Sound two forks one after the other or together. The interval frames the practice musically; it does not determine the acupoint.
The point and the interval answer different questions.Research on acupuncture has explored how needle manipulation couples with connective tissue and may initiate mechanotransduction. It frames a useful question—how do tissues and sensory nerves respond to mechanical input at a defined location?—but does not establish that fork vibration travels along a meridian or that one frequency has a unique biological effect at one point.
Traditional and sound-healing language may describe this as moving qi, releasing stagnation, or clearing congestion. These phrases carry information when the point, route, and felt change are also described; they do not mean a brief vibration removed a specific biomedical toxin.
Note: there is no single meridian frequency chart. Some practitioners use 128 Hz as a general contact tool; some build around 136.1 Hz and its octaves; others use musical intervals, planetary correspondences, or tuning forks with needles. These are modern lineages, not one frequency code inherited from classical Chinese medicine.
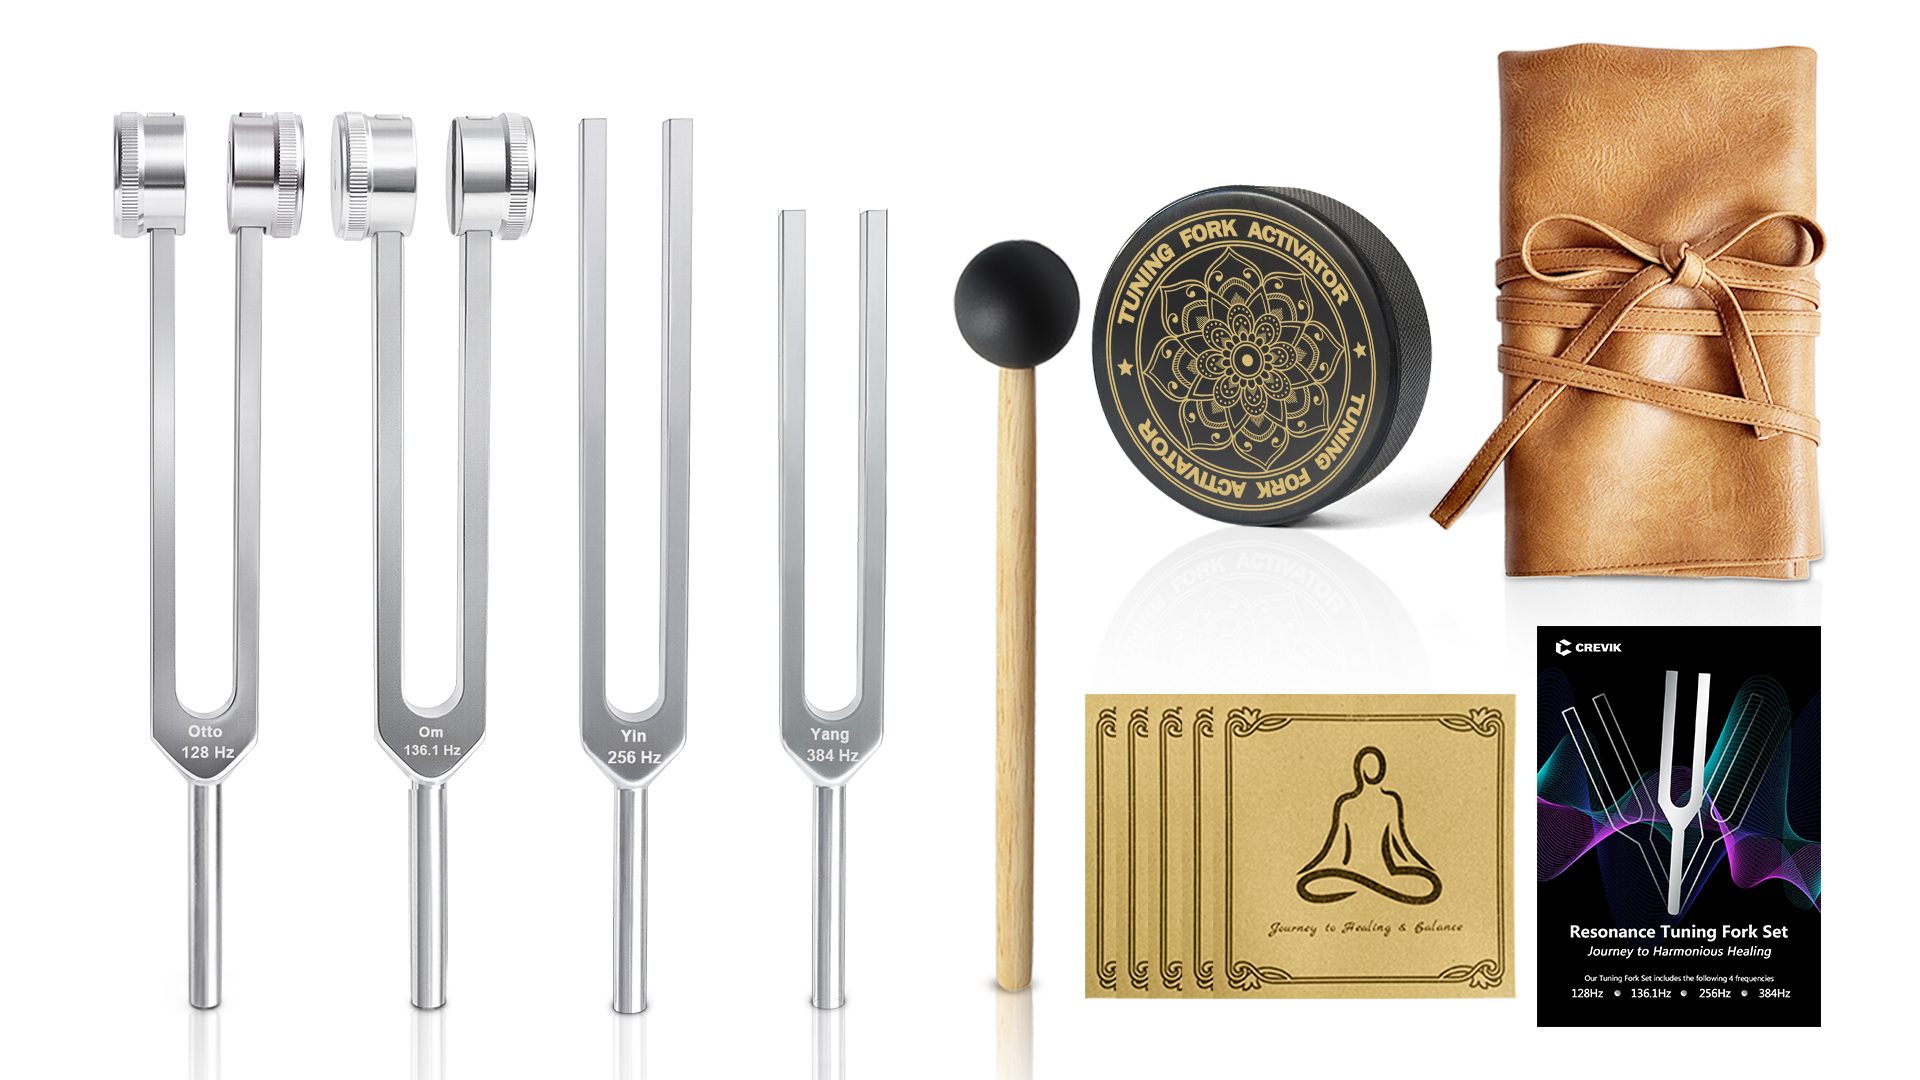
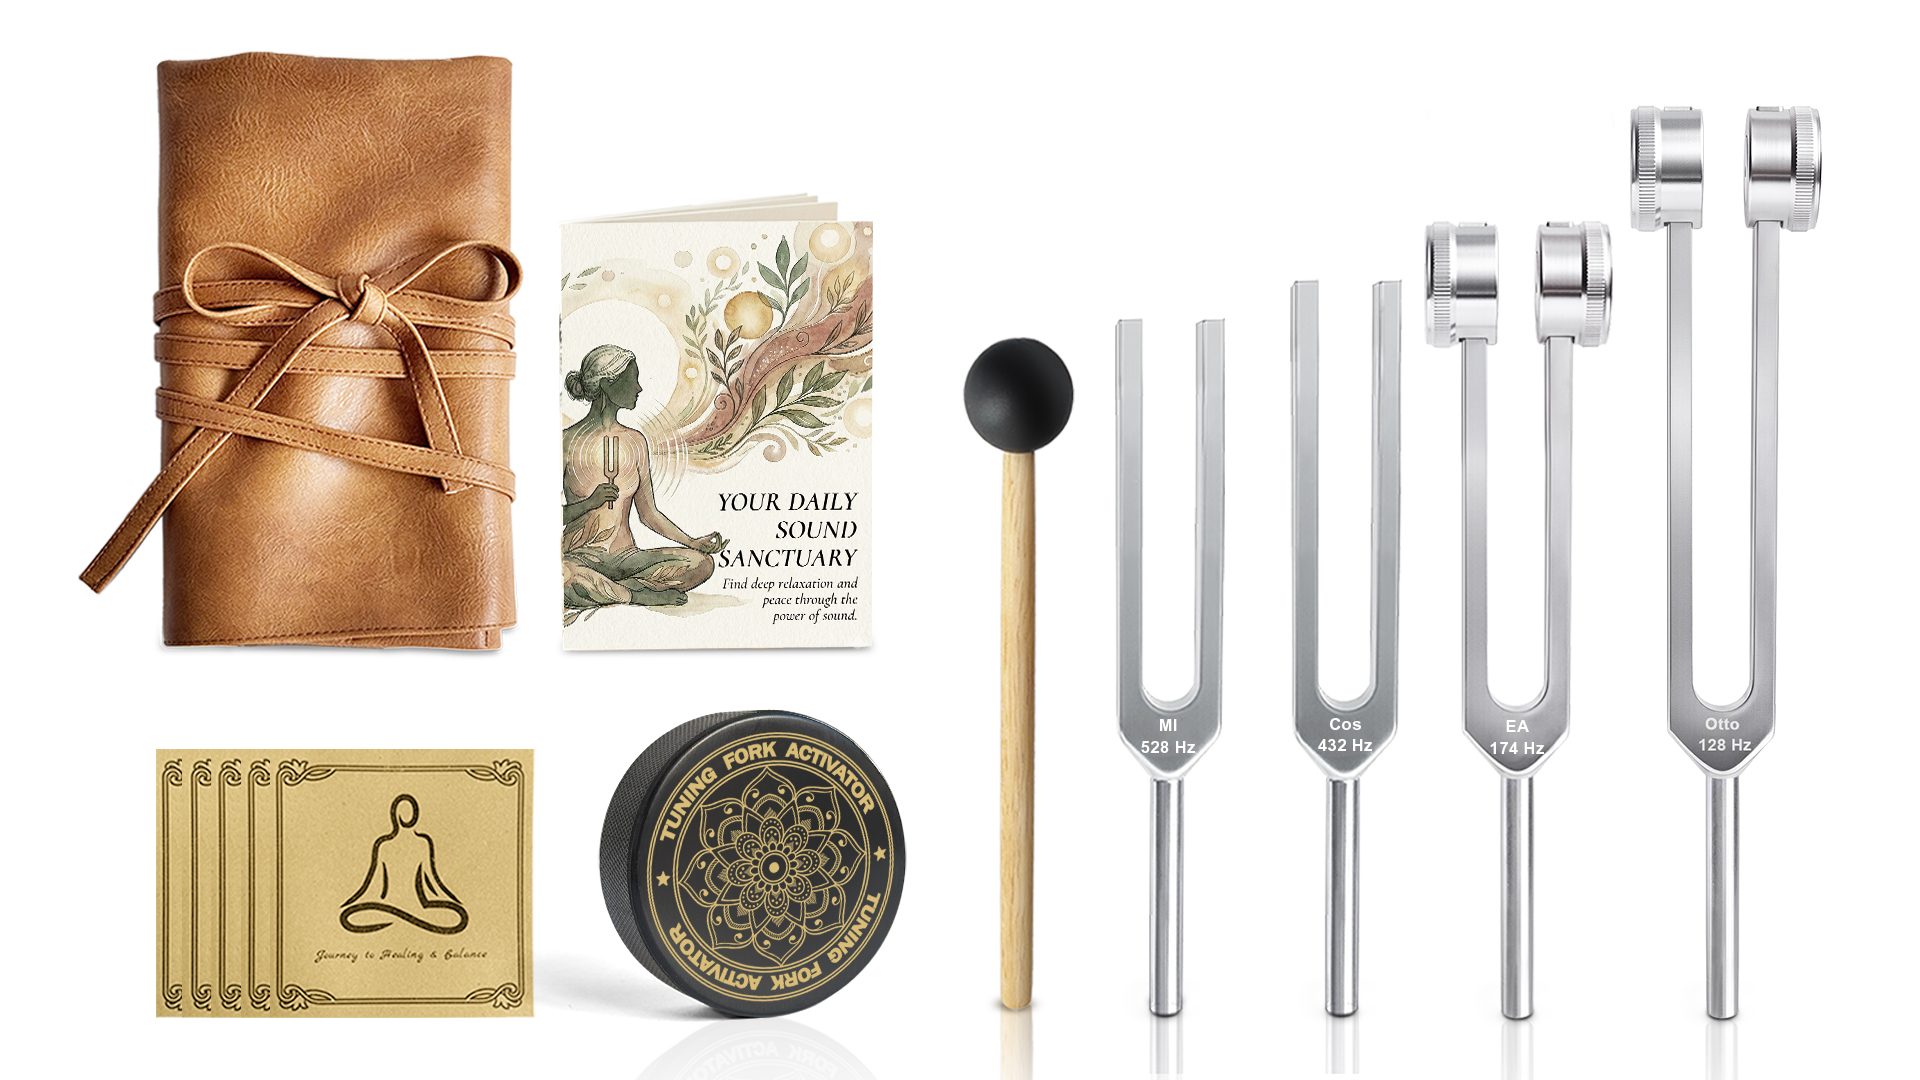
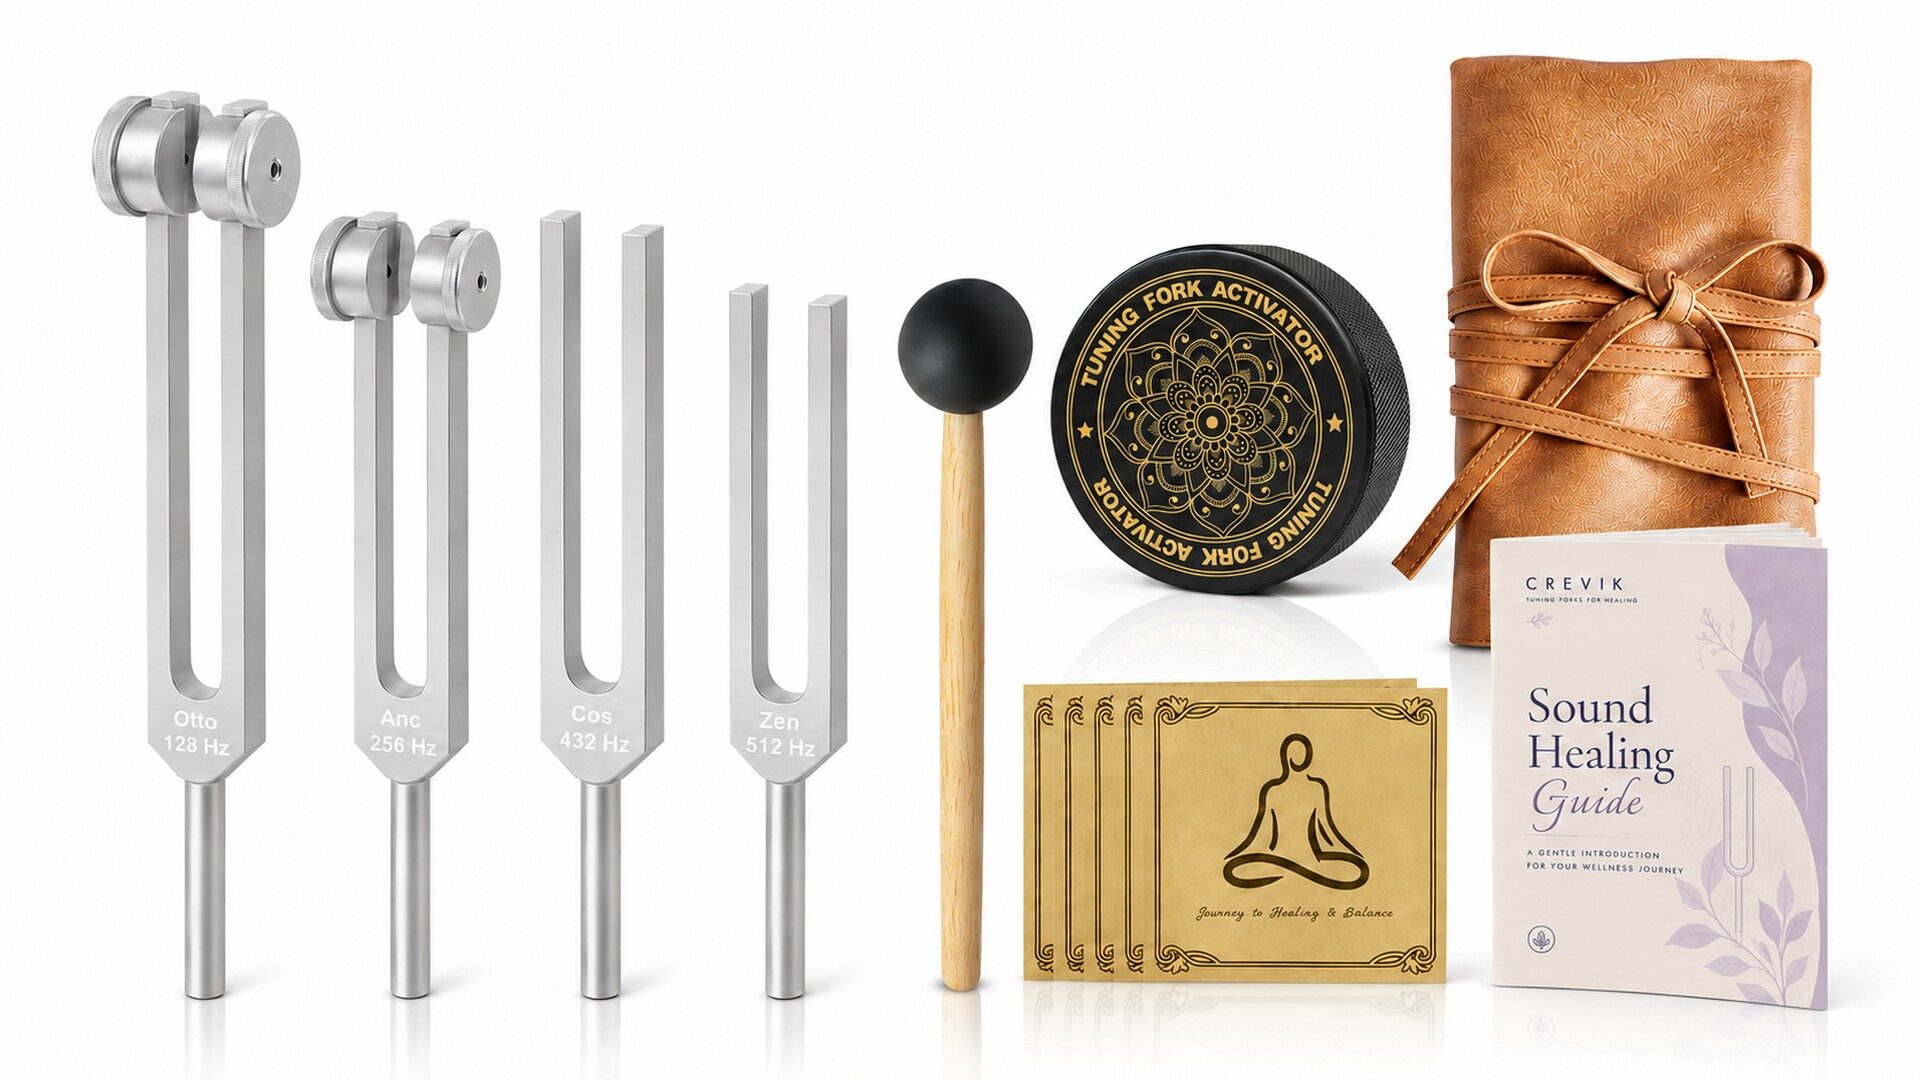
All three CREVIK sets contain a weighted 128 Hz fork, which makes 128 Hz a consistent starting point for contact practice. Resonance, Harmony, and Alignment add other weighted tones and unweighted listening tones, but the locating method does not change with the set. Find the point first; then decide whether the session needs tactile contact, audible sound, or both.
A Five-Step Acupoint Sound Practice
A first acupoint sound practice
Five steps, one clearly located point
Begin with touch. Add sound only after the anatomical address is clear. One or two applications per side are enough for a first round.
PC 6 area Locate
Find the wrist crease. Measure 2 B-cun toward the elbow, then confirm the interval between the central tendons.
Landmark → proportion → anatomy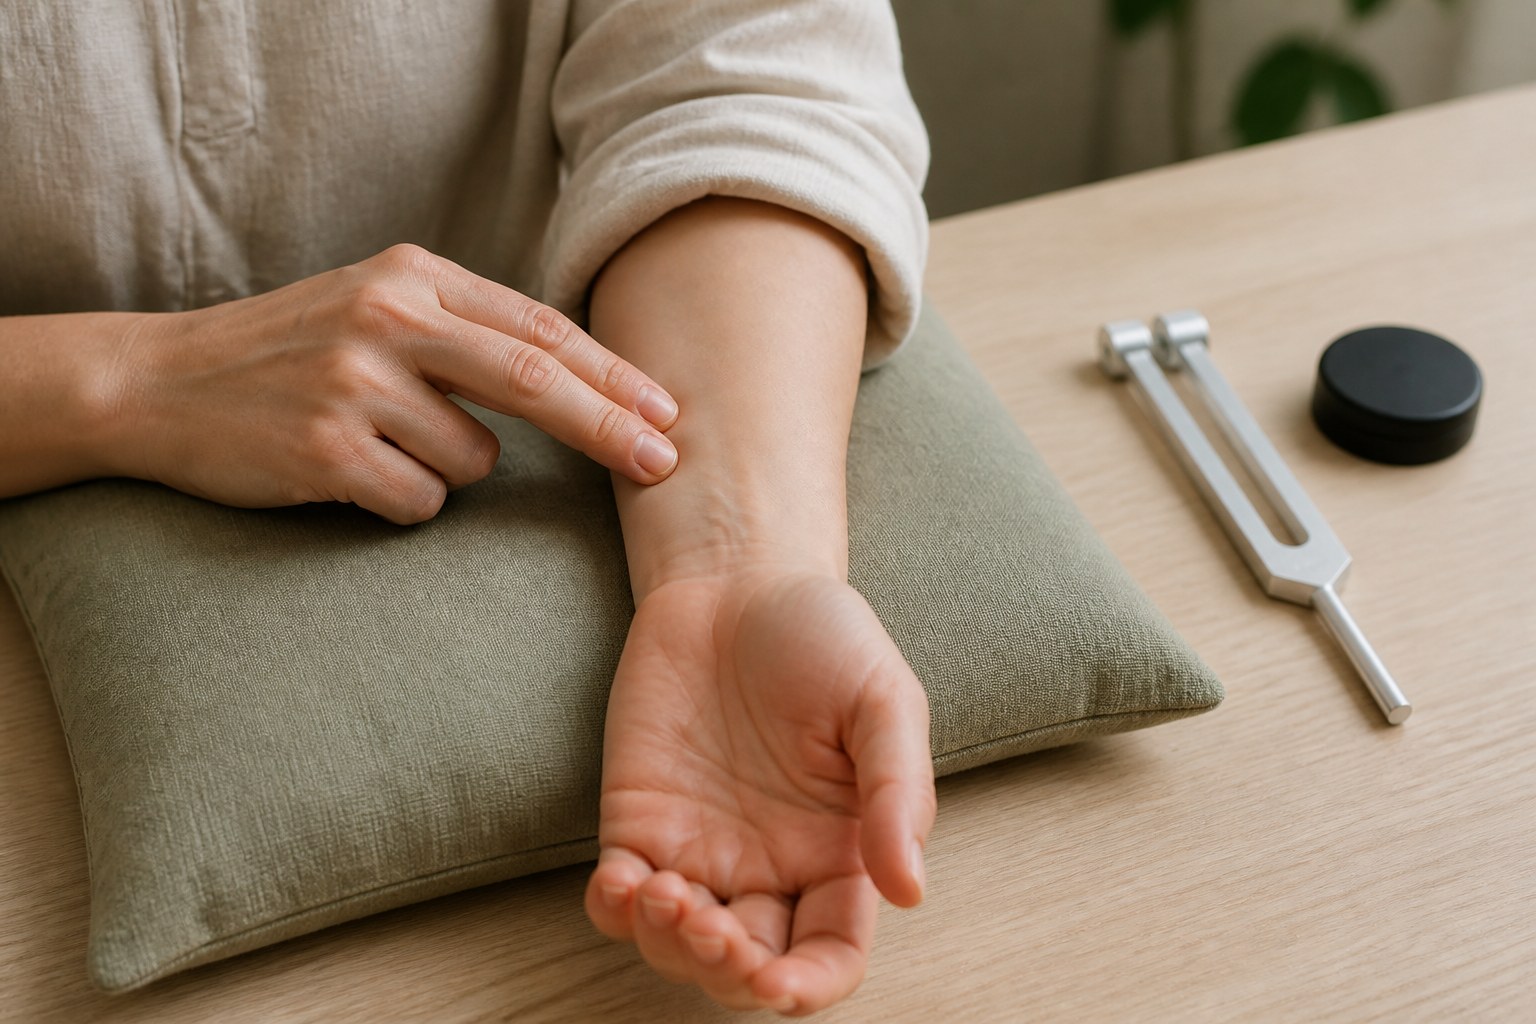 02
02Palpate
Use a relaxed finger pad. Compare both sides and notice one baseline: ease, tenderness, warmth, or movement.
Tenderness is information, not proof 03Activate
Hold the fork by its stem. Tap one tine lightly on a plain black hockey-puck activator.
Never strike the fork on the body 04Contact—or listen
Weighted fork: rest the flat stem end lightly on PC 6. Unweighted fork: sound it in the air nearby. Let the vibration decay before repeating.
Light input; no need to chase intensity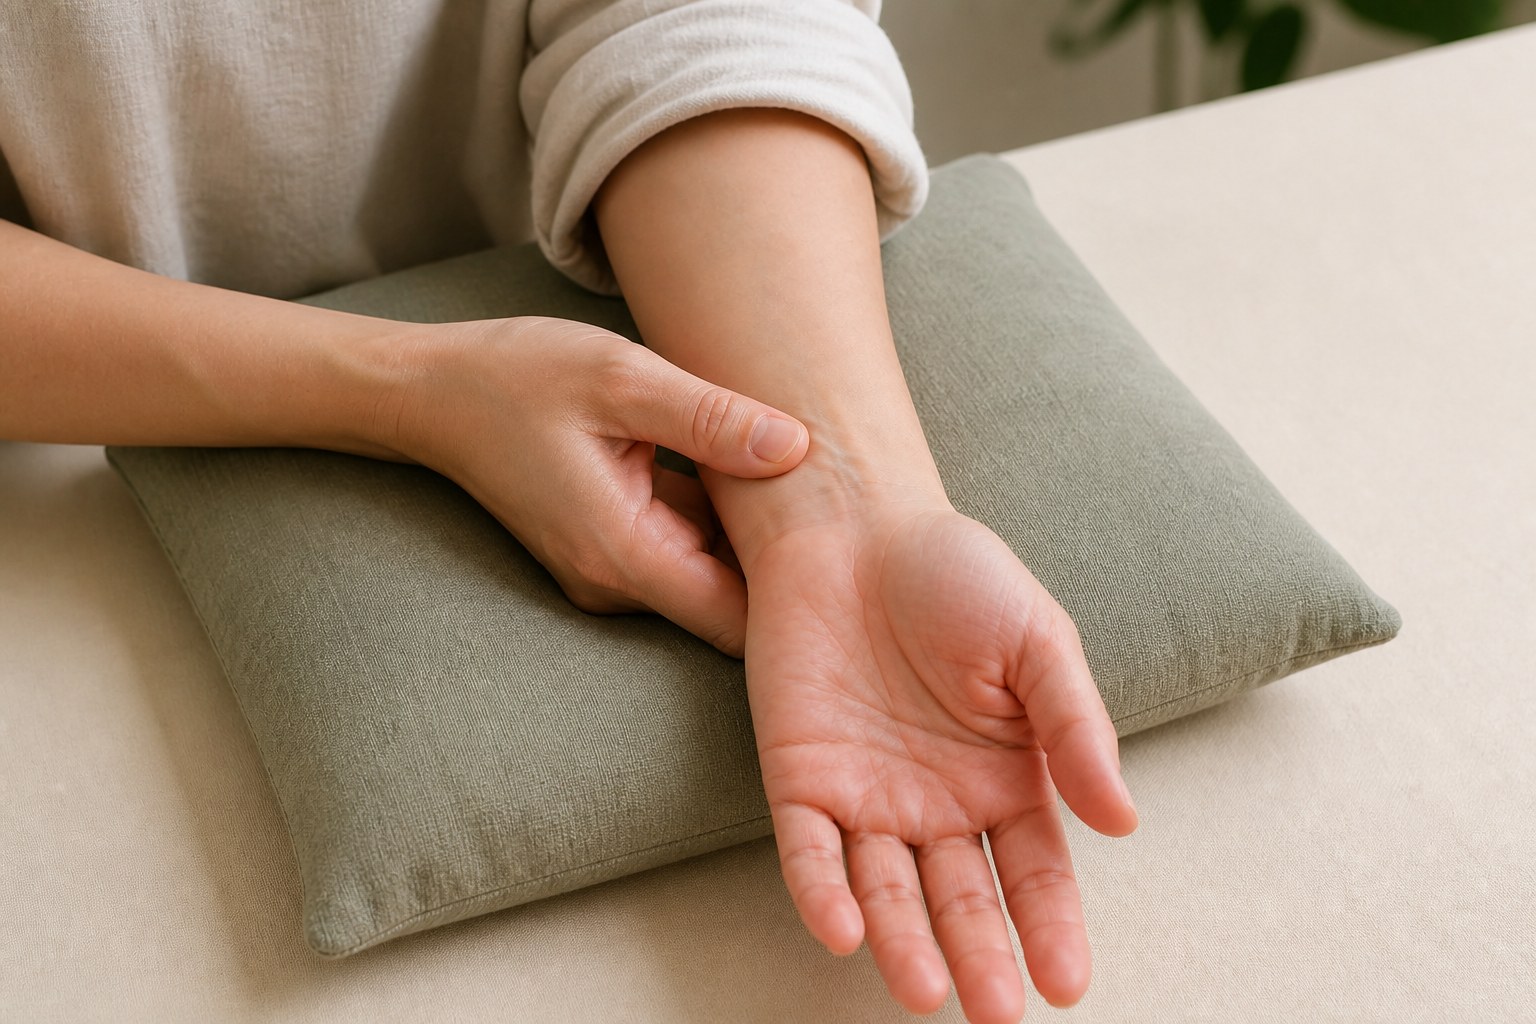 05
05Reassess
Return to the same baseline: flex and extend the wrist, or compare touch on both sides. Warmth, clarity, or no change are all valid.
The comparison is the useful partBegin with one point rather than all six. PC 6 is a useful first choice because its crease and tendons can be checked repeatedly.
Locate. Support the forearm palm-up. Find the wrist crease, estimate 2 B-cun, reveal the tendons with a loose fist, and relax the hand again.
Palpate. Rest a fingertip between the tendons. Compare left and right, then notice one baseline: local tenderness, ease of wrist movement, or the pace of one unforced breath.
Activate. Hold the weighted fork by its stem and tap one weight lightly against a resilient activator such as the CREVIK hockey puck. A clean vibration needs a controlled tap, not a hard strike. Do not activate the fork against a knee, ankle, or another part of the body.
Contact or listen. Place the flat end of the weighted stem on PC 6 with light, steady pressure and let the vibration decay. One or two applications per side are enough for a first round. If using an unweighted fork, hold it in the air at a comfortable distance instead of pressing its tines to the skin. It can sound before or after contact, or move slowly along the broad channel direction learned in Article 2.
Reassess. Remove the tool, flex and extend the wrist, and return to the same baseline. The area may feel warmer, less distinct, more noticeable, or unchanged. The comparison is the useful information; a dramatic sensation is not the goal.
Keep contact vibration away from broken, irritated, swollen, or infected skin, the eyes, and the front or side of the neck. Stop if pressure or vibration produces sharp pain, worsening numbness, dizziness, or spreading discomfort. These limits are short because the method is simple: accurate location, light input, and a clear reason to stop.
What You Can Take With You
You can now read a point description as a set of instructions. A crease or bone gives the starting landmark; B-cun supplies proportion; movement reveals a tendon, muscle, or hollow; palpation confirms the area. Finger-widths help, but they no longer have to carry the whole task.
You also have six different locating clues. PC 6 and TE 5 face one another across the forearm; HT 7 sits at a tendon and wrist crease; LI 4 follows the second metacarpal; ST 36 is on tibialis anterior below the knee; KI 1 appears when the toes curl.
Finally, you can choose the tool by the kind of input it provides. Weighted forks bring felt vibration through contact. Unweighted forks organize listening and space. In the next article, those two forms of sound will join pressure, breath, and movement in four short routines for common moments of daily life.
References and Further Reading
- WHO Standard Acupuncture Point Locations in the Western Pacific Region
- WHO Standard Acupuncture Point Locations: review of the standardization process
- Accuracy and Precision in Acupuncture Point Location: A Critical Systematic Review
- Memorial Sloan Kettering: Acupressure for Nausea and Vomiting (P6)
- Memorial Sloan Kettering: Acupressure for Pain and Headaches (LI 4)
- Anatomical Exploration of the KI1 Acupoint
- Langevin et al., “Mechanical Signaling Through Connective Tissue”
- NCCIH: Acupuncture—Effectiveness and Safety
- Acutonics: Use and Application of Tuning Forks
- Wakefield and MichelAngelo, Vibrational Acupuncture: Integrating Tuning Forks with Needles